
Last updated November 15, 2026
 AC repair
 Furnace & heating
 Heat pumps
 Ductless mini splits
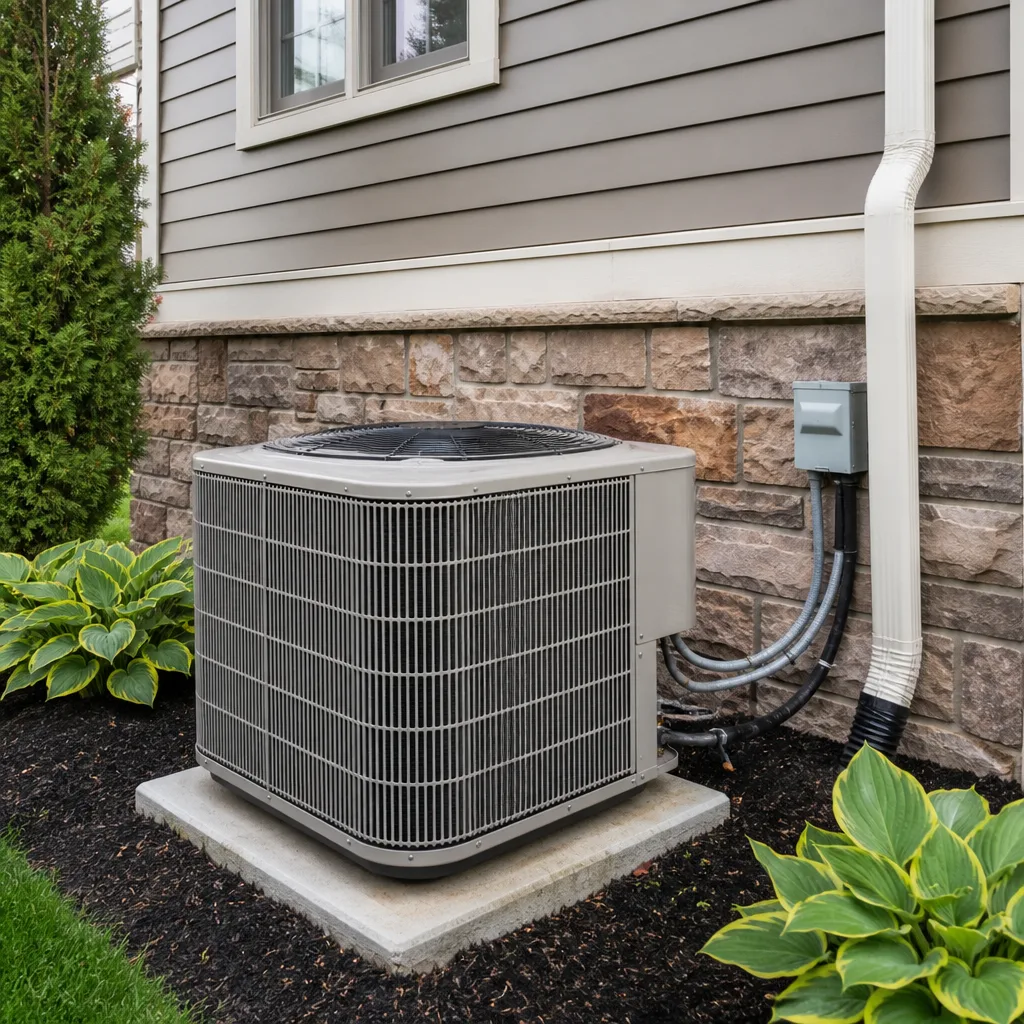 Carrier
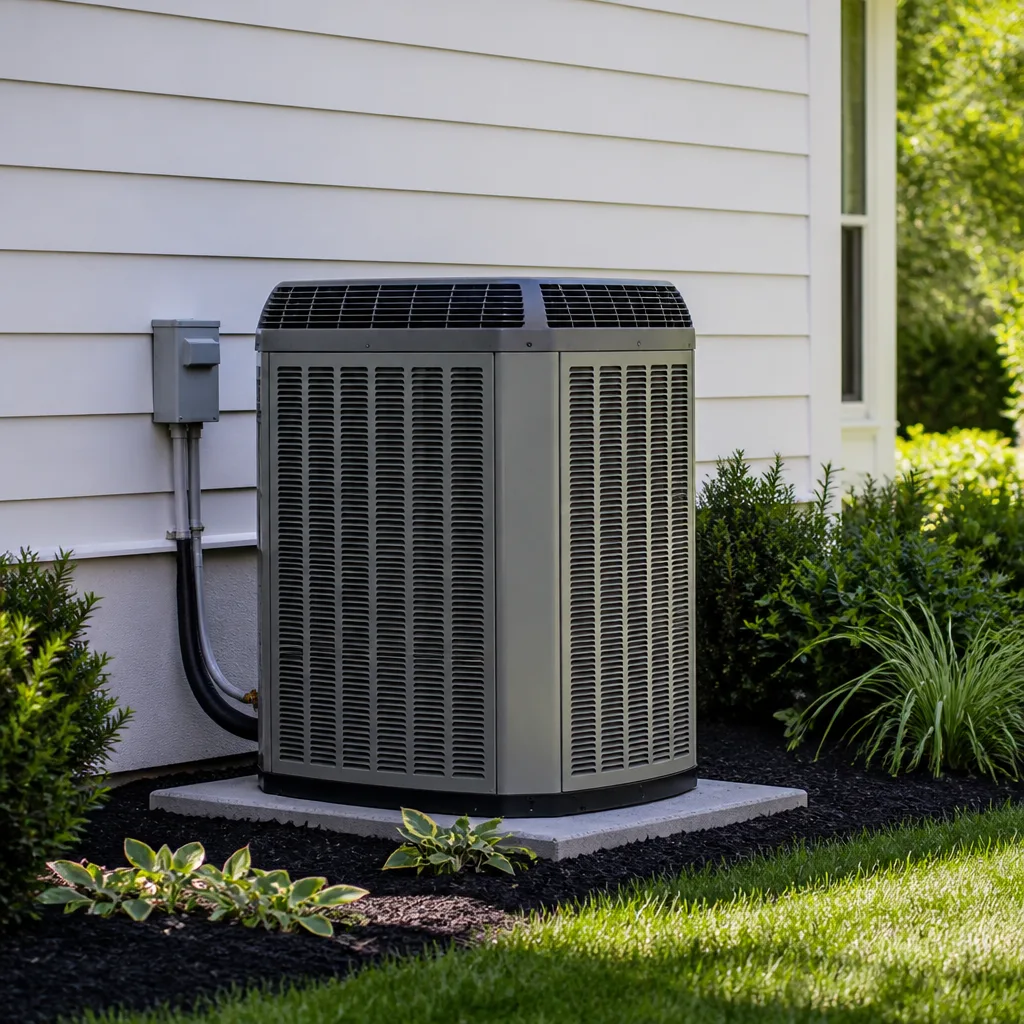 Trane
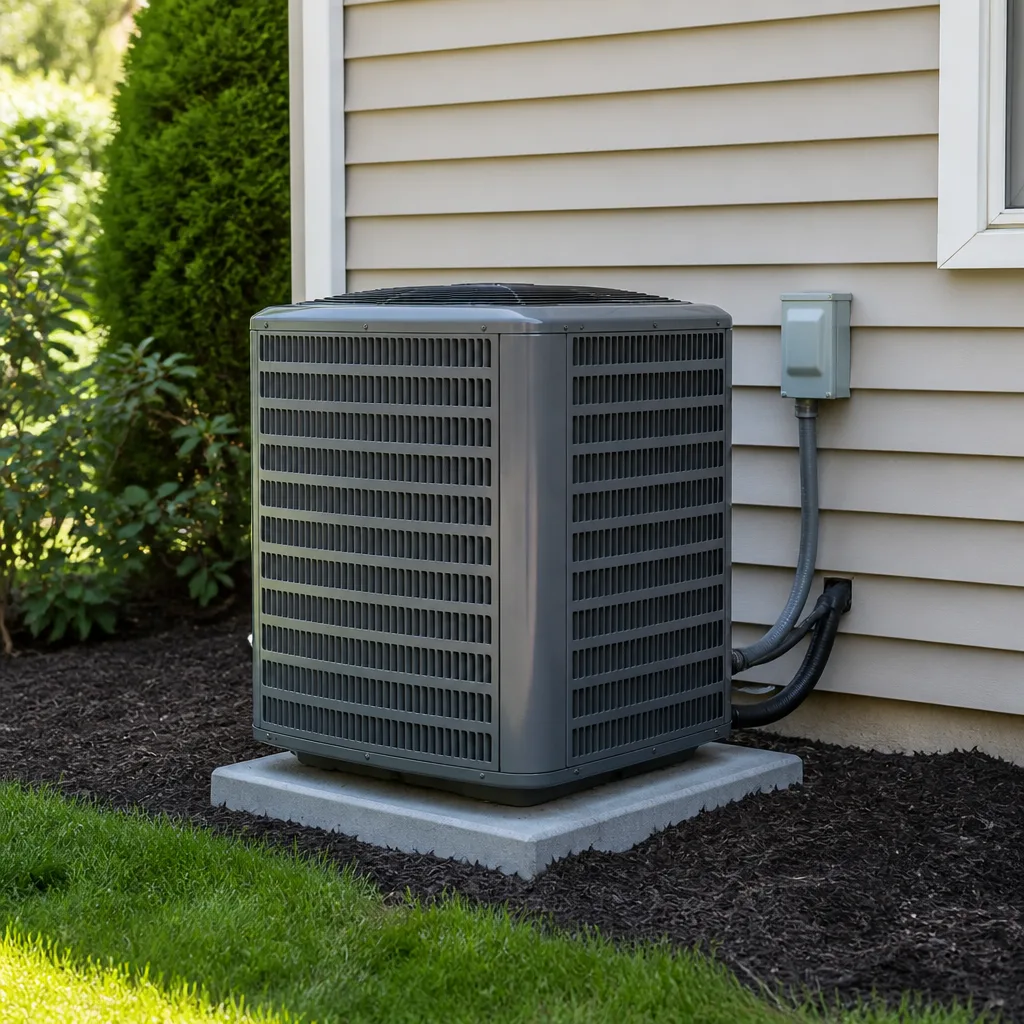 Goodman
Seasonal tune-up and full diagnostic on your Carrier, Trane, or Goodman system - readings shown to you before any repair is proposed
Diagnosis first, numbers second - you approve the repair price before a single part goes in.
Get your free estimateAC Installation Troubleshooting in Glendale: Common Problems and How to Fix Them
A brand-new air conditioner that short-cycles on its first hot afternoon is almost never a defective unit. It’s almost always a sizing or airflow decision made during installation, and that distinction decides whether your fix is a straightforward warranty call or an expensive do-over. The equipment in your backyard is usually the least likely culprit. What surrounds it – the ductwork, the charge, the drain line, the way the system was set up for your house – causes far more trouble after installation than the machine itself. In this guide we walk through the problems that show up most in Glendale, how to tell an installer error from a manufacturer defect, and what to say when you call for help. Our technicians have up to 15 years of experience reading exactly these situations.
Quick Answer
Most AC installation problems in Glendale trace back to installation errors, not broken equipment: undersized or oversized systems, leaky ductwork, incorrect refrigerant charge, high static pressure, and condensate drains that were run sloppily. The fix depends on which one you’re facing – some are covered by warranty, others require the original installer or a second contractor to correct. Recognizing the symptoms early keeps a small correction from becoming a full redo.
Styles & brands we work with
- AC repair
- Furnace & heating
- Heat pumps
- Ductless mini splits
- Carrier
- Trane
- Goodman
Table of Contents
- Manufacturer Defect vs. Installer Error: How to Tell the Difference
- Why Does My New AC Short-Cycle?
- Uneven Cooling and Duct Leakage in Glendale Homes
- Refrigerant Charge Errors After Installation
- Condensate Drainage Failures in Attic Air Handlers
- Static Pressure: The Measurement Most Installers Skip
- How to Get a Second Opinion Without Voiding Your Warranty
- Documentation to Gather Before Any Warranty Claim
Manufacturer Defect vs. Installer Error: How to Tell the Difference
The single most useful skill a homeowner can develop after a new install is separating a manufacturing defect from an installation mistake. They’re handled differently, covered differently, and fixed by different people. A defect is a failure inside the equipment itself – a faulty compressor, a leaking coil, a bad control board. An installer error is a failure of how the system was put together or configured: wrong size, wrong charge, poor duct connections, incorrect airflow settings. In our experience across Glendale, the second category is far more common, and the tell is usually timing and pattern.
A true defect tends to fail early and consistently. It doesn’t work better on mild days and worse on hot ones. It doesn’t affect one room and spare another. It fails the same way regardless of how the house is being used.
An installer error usually follows a pattern. Here’s how the two compare:
- Fails the same way every time → points to a defect. Consistent, repeatable failure that ignores outdoor temperature.
- Works harder on hot days, struggles on mild ones less → points to a charge or sizing problem.
- Some rooms cool, others don’t → points to duct leakage or airflow distribution, not the unit.
- Unit runs but never satisfies the thermostat → often undersizing or refrigerant charge.
- Unit short-cycles immediately after startup → often oversizing or a refrigerant overcharge.
- Water where it shouldn’t be → condensate or drain issue, an installation concern.
None of these are absolute. A trained technician confirms the diagnosis with gauges, a static pressure reading and a temperature split across the coil. But the pattern you observe tells them where to look. If you can describe the symptoms clearly – when they happen, which rooms, how hot it was, whether the unit was recently installed – you’ve already done half the work of narrowing it down. Whatever brand you have, from Bryant to Carrier to American Standard, the diagnostic method is the same. And if you’d rather start with an inspection, AC installation work done right the first time avoids most of this.
Why Does My New AC Short-Cycle?
A new air conditioner that turns on, cools briefly, and shuts off before the house reaches the set temperature is short-cycling. In Glendale, this almost always points to one of two installation decisions: the system was oversized for the space, or the refrigerant charge was set incorrectly. An oversized unit cools the air fast but doesn’t run long enough to pull humidity or reach the set point in every room. An overcharged unit behaves similarly – it satisfies the thermostat quickly, then cycles back on shortly after.
Other causes are worth ruling out. A dirty filter or blocked return can starve the system of air and trip it off. A thermostat placed in a bad spot – near a sunny window or a supply register – reads the room wrong. But on a genuinely new installation, those are less likely than a sizing or charge problem, especially if the same symptom appears the same way every hot afternoon.
Here’s how to approach it:
- Note how long the unit runs before shutting off. Very short cycles (a few minutes) point to oversizing or overcharge; moderate cycles can be normal on mild days.
- Check that your filter is clean and that return registers aren’t blocked by furniture.
- Compare room temperatures with a simple thermometer. If one or two rooms lag behind, the problem may be airflow, not the unit.
- Look at whether the cycle length changes on hot versus mild days. If it short-cycles only on the hottest afternoons, oversizing is the leading suspect.
- Ask the installer for the load calculation they used. A properly sized system should be based on a room-by-room heat load, not a rule of thumb.
Short-cycling isn’t just uncomfortable. It wears the compressor more than steady operation does. If your new unit does it consistently, get it examined before the warranty conversation gets harder. Glendale summers put real load on a system, and a properly sized one should run long, steady cycles on the hottest afternoons, not quick bursts.
Uneven Cooling and Duct Leakage in Glendale Homes
When one room stays warm while the rest of the house cools, the unit is usually doing its job and the ductwork isn’t. In Glendale homes, especially older ones where duct runs were added or altered over the years, leakage at joints, disconnects and poorly sealed boots wastes a large share of the cooling before it ever reaches the room. The air handler moves the right amount of air; the ducts lose it along the way. That’s an installation and ductwork problem, not an equipment problem.
Duct leakage has recognizable signs. You may feel little airflow at a register even when the system is running. Rooms farthest from the air handler tend to be the worst. Attics and crawlspaces can be noticeably hotter than they should be, because cooled air is escaping into them. Sometimes you can see sagging or disconnected flex duct in the attic if you look safely from a distance.
Fixing uneven cooling usually means:
- Sealing duct joints and connections with mastic or approved tape, not cloth duct tape that dries out.
- Checking that each supply boot is properly attached and sealed to the register opening.
- Balancing airflow with dampers so distant rooms get their share.
- Verifying return air paths aren’t restricted – a house can’t push cool air into a room if it can’t pull air back out.
- Confirming the system was sized and zoned appropriately for the home’s layout.
Glendale has a wide mix of housing stock, from older bungalows near downtown to larger homes in the hills, and the duct layouts vary widely. A system that cooled perfectly in one house can underperform in another with the same equipment if the ducts were run differently. If you’re in Glendale and one room never quite catches up, duct leakage and static pressure are where a technician should look first.
Refrigerant Charge Errors After Installation
Refrigerant charge errors are among the most common post-installation problems, and they show up differently depending on the weather. On a hot Glendale afternoon, an undercharged system runs long and never quite cools the house – it’s moving refrigerant that isn’t there. An overcharged system can cool well but cycle oddly, and the compressor works harder than it should. On a mild spring day, both problems can hide. That’s why a technician checks charge under real load conditions and with gauges, not just a hand on the line.
The reason charge errors happen is straightforward. Systems are charged by weight or by measured subcooling and superheat, and those measurements depend on the installer taking the time to do them correctly under the right conditions. Rushing that step, or setting charge on a cool morning when the house isn’t loaded, produces a system that passes a quick check and fails in July.
Signs of a charge problem include:
- The house doesn’t reach the set temperature on hot afternoons even though the unit runs continuously.
- The indoor coil ices up, or the outdoor unit’s lines frost over.
- The compressor runs hotter or louder than it should.
- Cooling is fine in mild weather but poor on the hottest days.
- Energy use climbs noticeably without a change in habits.
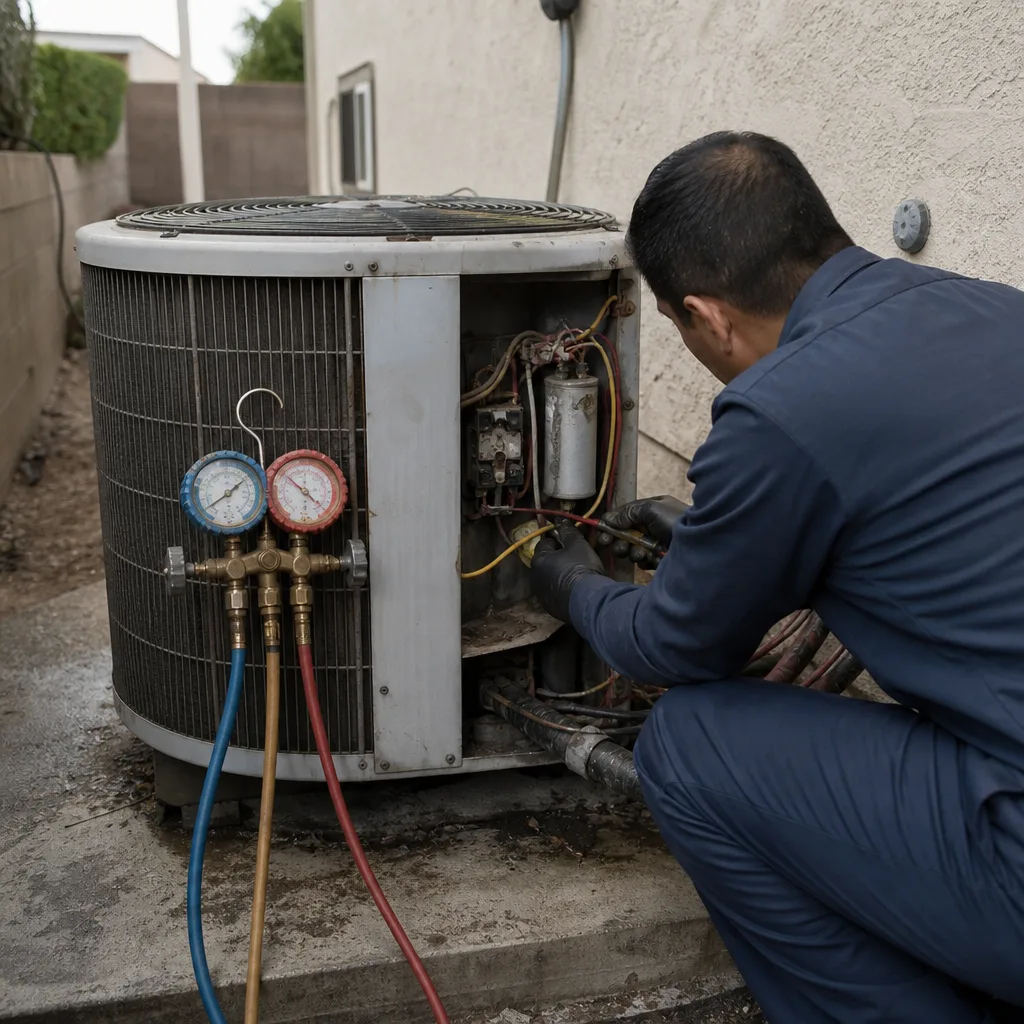
If a system is overcharged or undercharged, the fix is a technician recovering or adding refrigerant and re-measuring. That’s not a homeowner job, and it’s worth saying plainly: handling refrigerant requires training and equipment, and getting it wrong can damage the compressor. A proper check includes verifying the charge against the manufacturer’s spec for that model. Because we work on systems from Trane, Lennox, Rheem and the other major brands, we can pull the right spec for whatever unit you have.
Condensate Drainage Failures in Attic Air Handlers
In many Glendale homes, the air handler lives in the attic, which makes condensate drainage a detail that matters more than it does elsewhere. Every air conditioner pulls moisture out of the air as it cools, and that water has to go somewhere. When the drain is installed poorly – a shallow trap, a missing secondary pan, a drain line that runs slightly uphill, or a termination that drips into the wrong place – the water ends up in the attic, ceiling or walls instead of outside. By the time a homeowner notices, the repair is often far more than a drain fix.
Installers who rush this step skip things that seem small and aren’t. A proper installation includes a trap that’s deep enough to work, a primary drain that pitches continuously toward the exit, a secondary drain pan with its own line, and a float switch that shuts the system off if water backs up. When any of those are missing, an attic air handler can cause water damage during a single hot week.
What to watch for:
- Water stains or damp spots on the ceiling below the attic.
- A drain line that drips visibly near a soffit or wall.
- Water pooling in the secondary pan with no float switch to stop the system.
- Musty or damp smell when the AC runs.
- Ice on the indoor coil that melts and overflows a pan during a hot day.
If you see any of these, shut the system off and have it looked at before running it further. The unit itself is usually fine; the water handling around it isn’t. Homeowners often blame the AC when the real problem is where it drains. On attic installs in Glendale’s older homes, that detail is worth checking on any new system.
Static Pressure: The Measurement Most Installers Skip
Static pressure is the resistance air meets as it moves through the system, and it’s the measurement that separates a properly commissioned install from one that will cause problems for years. High static pressure means the blower is working against restricted airflow – from undersized ducts, tight turns, dirty filters or restrictive coils. The system may still cool, but it runs harder than it should, wears faster and cools unevenly. Many installation problems that get blamed on the equipment are really a static pressure issue that was never measured at startup.
A technician with a manometer measures static pressure at the return and supply sides and checks that the total is within the manufacturer’s recommended range. If it isn’t, the fix might be as simple as opening up a return or as significant as reworking duct sizes. Either way, you can’t fix what you never measured, and that’s the point. In our experience with Glendale installations, static pressure is the reading that gets skipped most often during handoff.
Warning signs of high static pressure:
- Weak airflow at registers even with a clean filter.
- A blower that sounds strained or noisy.
- Frequent filter changes because the filter loads quickly.
- Uneven cooling that doesn’t improve with balancing.
- Frozen coils during heavy use.
If you can ask one question of the installer who set up your system, ask what the static pressure reading was. If they don’t have one, it’s reasonable to ask for it before you accept the installation as complete.
How to Get a Second Opinion Without Voiding Your Warranty
A second opinion on a failed installation is entirely legitimate, and it doesn’t have to jeopardize your warranty. The key is understanding that most manufacturer warranties cover the equipment, not the labor from any particular contractor, and they usually specify how the work must be performed and documented. A second contractor can diagnose and, in most cases, correct installation errors without affecting the parts warranty. What you want to avoid is a second contractor making unauthorized changes without documentation that ties back to the original install.
Here’s a practical step-by-step for getting a useful second opinion without creating a warranty problem:
- Gather your original paperwork: the installation invoice, the equipment model and serial numbers, and any warranty registration confirmation. These are what any technician will ask for.
- Note the symptoms and when they appear. A second opinion is only as good as the description of the problem.
- Ask the second contractor to diagnose first and quote second. You want a written diagnosis with measurements – static pressure, temperature split, charge readings – not a sales pitch.
- Ask explicitly whether correcting the issue could affect your existing warranty, and get the answer in writing.
- Keep the original installer informed if you’re pursuing a warranty claim. In many cases the manufacturer requires the installing contractor to file it.
- Request documentation of whatever is done so the fix is traceable to the system.
What to tell each contractor is simple: describe the symptoms, tell them the original install date and equipment brand, and ask for a written diagnosis with the measurements they used. A contractor who diagnoses with data is easy to trust; one who leads with a replacement quote before diagnosing is easier to question. For a neutral read on your system, Jasper AC Repair works on all nine major brands, so the diagnosis follows your house and your situation, not a brand preference.
Documentation to Gather Before Any Warranty Claim
Warranty claims go smoothly when the paperwork is ready and slowly when it isn’t. Before you call anyone, put these together:
- The original installation invoice with the date and the contractor’s name.
- The equipment model and serial numbers from the outdoor unit and the air handler.
- Any warranty registration confirmation from the manufacturer.
- Notes on the symptoms, with dates and weather conditions.
- Any measurements the original installer recorded at startup – static pressure, charge readings, temperature split.
- Photos of any visible issues, such as water stains, frost on lines or disconnected ductwork.
That last item – the startup measurements – is the one most often missing. If the original installer didn’t record them, that’s information in itself, and a technician can produce them now to establish a baseline. Whether a particular issue falls under parts or labor coverage depends on the warranty terms and the manufacturer, so read that document before assuming. If you’re unsure how the cooling side of your system connects to the rest of your HVAC, both cooling and heating fall under the same roof with furnace repair when the season turns.
Common Mistakes to Avoid
- Assuming a new unit that misbehaves is defective. In our experience most new-install problems are installation decisions, so diagnosing the installation before blaming the equipment saves time and money.
- Cranking the thermostat lower to force cooling. Setting the thermostat to its lowest point doesn’t make a struggling system cool faster and can push a system with an underlying charge or airflow problem harder than it should.
- Letting one quote decide the whole question. A single quote that jumps to replacement before diagnosing is worth a second look, especially in older Glendale homes where the duct layout matters as much as the equipment.
- Ignoring small water signs in the attic. A minor drip from an attic air handler in Glendale during the summer can turn into ceiling damage in a single hot week.
- Blocking return air registers with furniture or storage. Restricted return air raises static pressure and starves the system of airflow, which is often mistaken for an equipment problem.
- Skipping the startup documentation. Without recorded static pressure and charge readings, a later warranty claim has less to stand on.
- Calling a second contractor without telling them about the warranty. A written, measured diagnosis keeps the warranty intact and the fix traceable.
See the difference
 Before
 After
 Before
 After
 Before
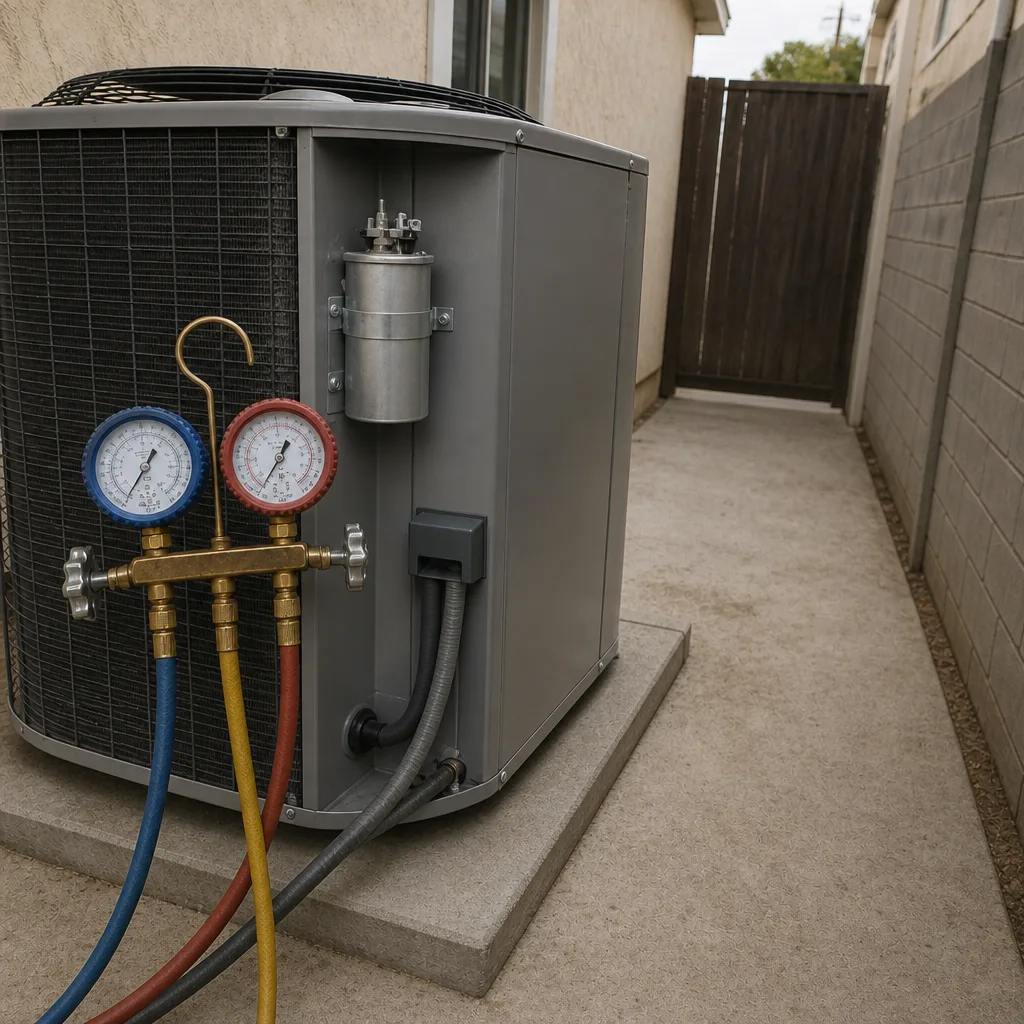 After
When to Call a Professional
Call a professional when the system short-cycles on hot afternoons, when one room never cools while the rest does, when you see frost on the refrigerant lines or ice on the indoor coil, or when water is showing up anywhere it shouldn’t near an attic air handler. Also call if the system runs but never satisfies the thermostat, or if you’ve recently had an install and something just doesn’t feel right. Refrigerant handling and electrical work on HVAC equipment are not DIY territory; a mistake can damage the compressor or create a safety hazard. Jasper AC Repair offers free estimates in Glendale. Call (855) 473-8857. We answer 24/7. Fast dispatch from 7am to 7pm, Sunday through Friday.
Frequently Asked Questions
It depends on the cause. A short-cycling unit caused by a faulty compressor or control board is usually covered under the parts warranty. A unit that short-cycles because it was oversized or overcharged during installation is an installation issue, and it’s typically corrected by the installing contractor. The fastest way to know is a measured diagnosis: call (855) 473-8857 and we’ll walk you through what we’d check first.
The most common signs are uneven cooling, short cycling, high energy use without a logical cause, and water near an attic air handler. If those appeared after a new install and worsen on hot Glendale afternoons, installation is the leading suspect. A technician confirms it with static pressure, charge and temperature-split readings. Free estimates in Glendale – call (855) 473-8857.
A system that cools fine in mild weather but struggles on hot days usually points to a refrigerant charge error, undersizing, or duct leakage that shows up under load. The unit is working; the setup isn’t keeping up. Getting the charge and static pressure measured is the clearest first step. Call (855) 473-8857 for a free estimate and we’ll take the readings that answer the question.
No, though for a warranty claim the original installer may need to be involved because many manufacturers require the installing contractor to file the claim. A second contractor can diagnose and often correct installation errors, and getting a written diagnosis first protects your warranty. If you’d like a neutral diagnosis, call (855) 473-8857.
A blocked, poorly sloped or improperly trapped condensate drain is the usual culprit, often along with a missing secondary pan or float switch. In Glendale homes with attic air handlers, these details are easy to skip at install and costly to ignore under summer load. Shut the system off and have it looked at before running it again. Free estimates – (855) 473-8857.
Yes, and it’s one of the most common causes. If ducts leak or disconnect, cooled air never reaches the room, so one area stays warm while the unit runs normally. Sealing joints, boots and connects, plus balancing airflow, usually resolves it. If you’re in Glendale and one room never cools, call (855) 473-8857 for a free estimate.
The Bottom Line
Most AC installation problems in Glendale are installation decisions, not equipment failures. Sizing, refrigerant charge, duct leakage, static pressure and condensate drainage are the five areas that cause the most trouble, and each has recognizable signs. Recognizing the symptoms early – short cycling on hot days, one room that lags, water where it shouldn’t be – keeps a small correction from turning into a costly redo. Ask for measurements, keep your warranty paperwork together, and get a written diagnosis before anyone quotes a fix. Whatever brand of system you have, the right starting point is a technician who diagnoses the installation with data. Call (855) 473-8857. We answer 24/7. Fast dispatch from 7am to 7pm, Sunday through Friday. Free estimates, and a written estimate sets the final price.
Written by the team at Jasper AC Repair.